Building a campfire is not as difficult as you think. You just need to learn how to do it properly, otherwise, you’ll be sitting around the dirt and eating untoasted marshmallows if you don’t learn how to build one. To do so, you will need wood, matches or lighter, also rocks and a shovel. But before starting a campfire, you need to remember the following tips as enumerated by Howcast in their YouTube video “How to Build a Campfire”:
Step 1: Make sure a campfire is allowed at your campsite.
Step 2: See if your campsite has pre-made fire pits. If not, you’ll have to make one.
Step 3: To create your own fire pit, choose an area at least ten feet away from brush and other easily flammable materials. Don’t forget to look up! Fire pits should not be under branches.
Step 4: Surround your fire pit with a circle of stones or rocks to keep your wood contained. If you have a shovel, dig a shallow pit inside your circle of rocks. Six to eight inches will do.
Step 5: Gather wood. You’ll need three different types: tinder, such as small twigs and dry leaves; kindling, which are larger sticks and twigs; and fuel wood – large pieces of wood that will burn for a while. All wood should be dry and as free of dirt, moss, and debris as possible. Pile it at least three feet away from your fire pit.
Step 6: Start by placing a pile of tinder in the center of your fire pit.
Step 7: Using three or four pieces of your kindling, build a tepee around the tinder.
Step 8: Add more kindling to the downwind side of your tepee then continue around to the upwind side. Leave an opening on the upwind side that will allow you to ignite the tinder inside the tepee. Fire needs oxygen, so be sure to leave space between the kindling in your tepee to let the fire breathe.
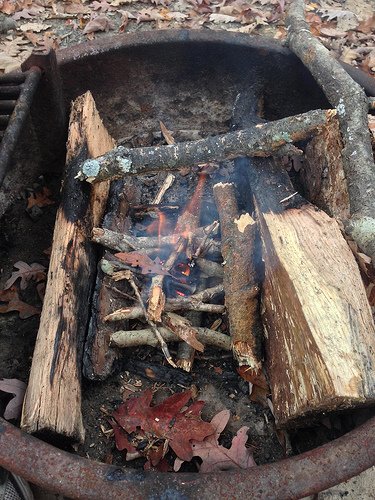
Step 9: Lay two parallel pieces of fuel wood on opposite sides of the tepee. The ends should extend beyond your tepee. Lay two more pieces of wood on top of your first two, forming a square of fuel wood enclosing the tepee.
Step 10: Continue laying fuel wood, building up to a box that resembles a log cabin. Two or three layers will suffice. Make sure you can still access the tinder, which is now inside the kindling tepee, which is inside your fuel-wood cabin.
Step 11: Light the tinder in several different locations. Stand to the upwind of your fire when you’re lighting it to keep the wind from blowing out your match or lighter.
Step 12: Add small amounts of tinder until the kindling catches fire.
Step 13: Once the kindling ignites, switch your attention to the fuel wood. As the kindling burns up, add more until the fuel wood ignites.
Step 14: When the fuel wood has caught on fire, continue feeding it with fuel wood as needed.
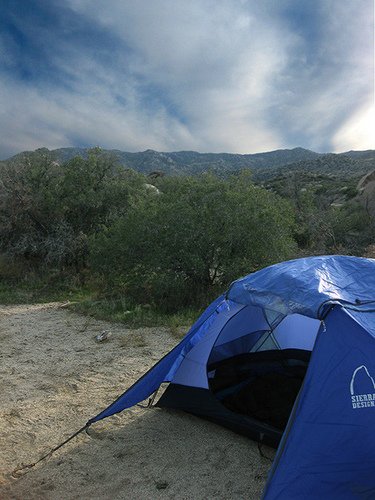
Photo by Mrs. Gemstone 
